
The Engineering Design Process: A Step-by-Step Guide
Learn the engineering design process step by step: define the problem, brainstorm, prototype, test and improve, with a worked example and common mistakes.
Most engineering projects don’t fail because the team can’t build. They fail because the team started building too soon.
Someone has a cool idea. Everyone grabs a tool. Three weeks later the prototype works, but it solves the wrong problem, or it’s too heavy, or it blows the budget. Nobody wrote down what “done” meant, so nobody noticed until it was too late.
The engineering design process fixes that. It’s a simple loop that makes you define the problem, compare ideas, build, test and improve, in that order. This guide walks through each step, shows a worked example, and covers the mistakes that trip up student teams and experienced engineers alike.
What is the engineering design process?
The engineering design process is a repeatable set of steps for solving a problem with something you build. You define what success looks like, explore options, build a version, test it against your goals, and improve it until it passes.
You’ll see different versions of it. NASA’s classroom version uses six steps: ask, imagine, plan, create, experiment and improve. The Next Generation Science Standards boil it down to three ideas: define the problem, develop possible solutions, and optimize the best one. The names change, but the shape doesn’t. This guide uses eight steps because it splits out the parts teams most often skip.
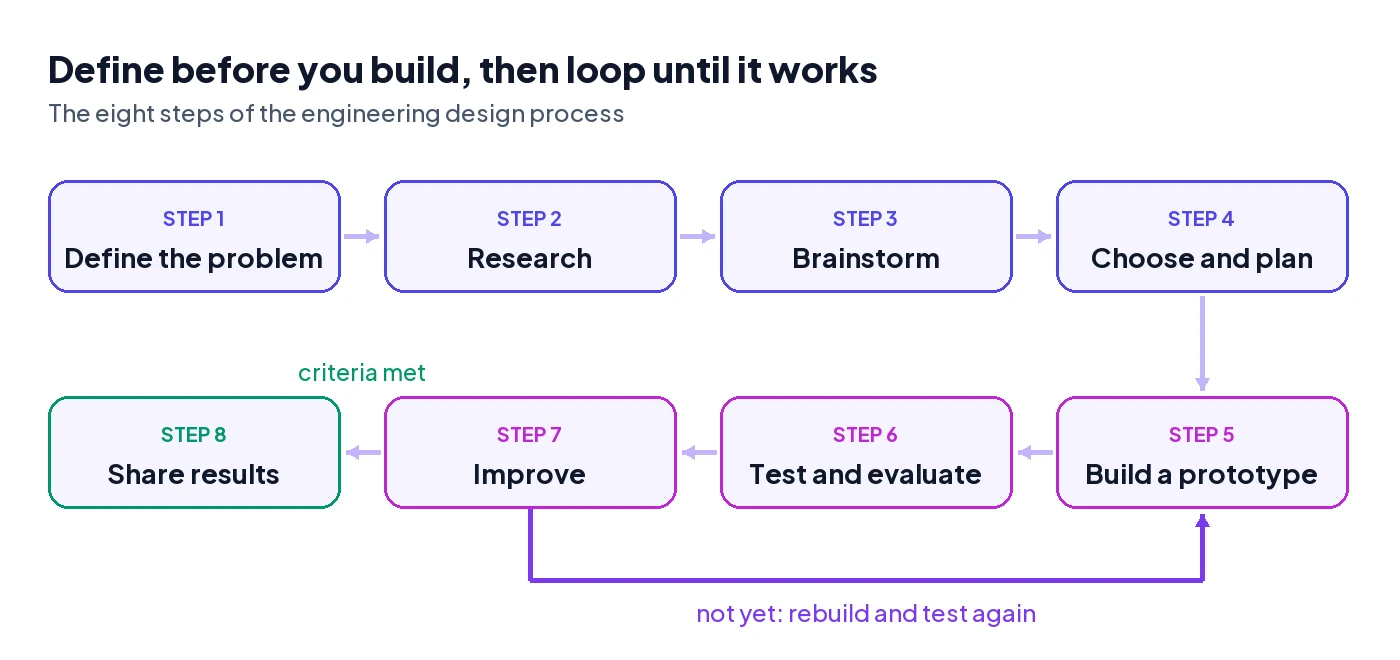
The key word is loop. You don’t go through it once. Steps 5 to 7 repeat until your design meets the criteria you wrote down in step 1.
The engineering design process steps
1. Define the problem
Write one sentence that says who has the problem and what they need. Then list your criteria (what the design must do, with numbers where you can) and your constraints (limits on budget, size, weight, time and materials). If you can’t measure it, you can’t test it later.
2. Research
Look at what already exists and why it falls short. Read the rules or the client’s brief twice. Talk to the people who will use the thing. Ten minutes of research can save a week of building the wrong idea.
3. Brainstorm
Come up with several different solutions before you judge any of them. Sketch fast and rough. Aim for at least three ideas that work in genuinely different ways, not one idea in three colors.
4. Choose and plan
Score each idea against your criteria in a simple decision matrix and pick the winner. Then break the build into steps, give each step an owner and a due date, and note which steps have to wait on others. This is where a project turns into a schedule.
5. Build a prototype
Start with the cheapest version that can answer your biggest question. Cardboard, tape and 3D-printed test parts are fine. A prototype is a question you can hold, not a finished product.
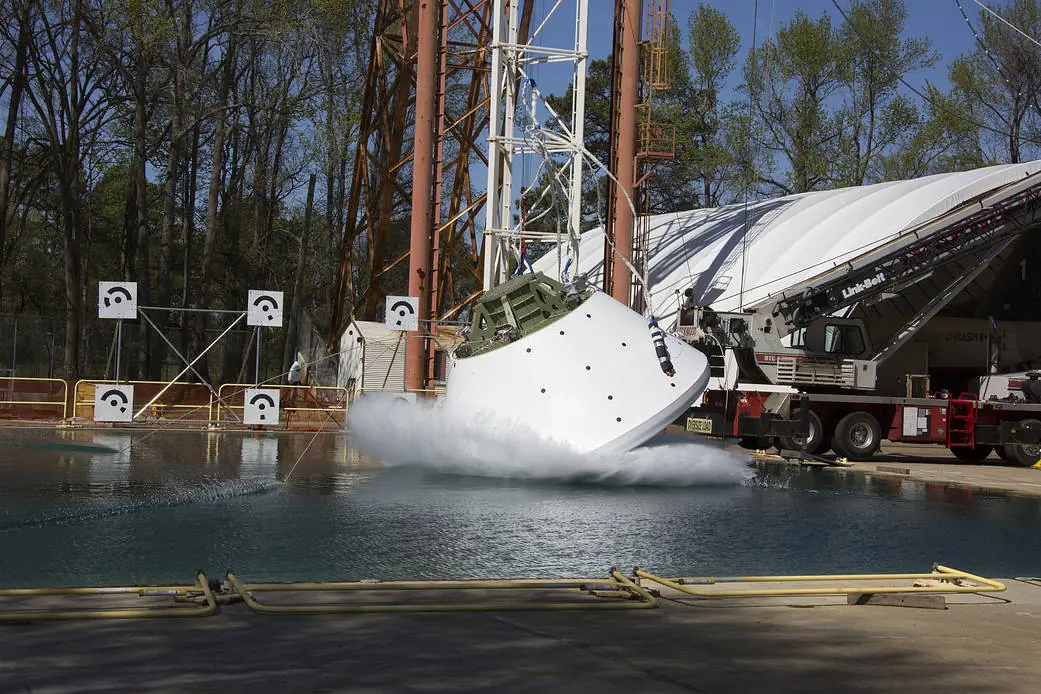
6. Test and evaluate
Test against the criteria from step 1, not against how it feels. Change one thing at a time, run each test more than once, and write the results down with dates and photos.
7. Improve
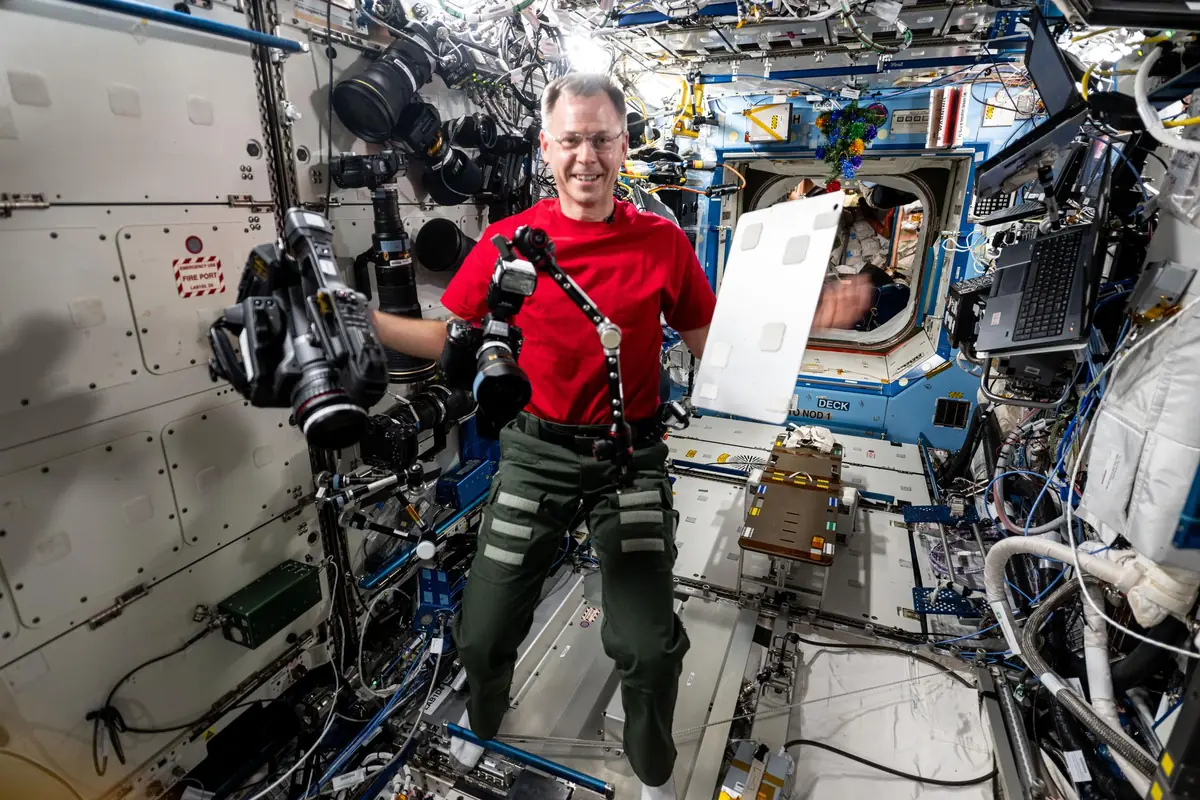
Use what failed to decide what to change. Update the design, then go back to step 5. Most of a project’s real progress happens in this loop. Good teams even test the failure cases on purpose, so they know what happens when something goes wrong.

8. Share results
Present the final design, the data that proves it works, and what you’d change next. Judges, clients and teammates care as much about your reasoning as the result. In programs like NASA HUNCH, formal design reviews are built around exactly this.

Engineering design process example: a drop-safe sensor case
Here’s a made-up but realistic class project, run through every step.
Define. A team needs a case that protects a small sensor board when it’s dropped from a second-floor balcony. Criteria: the board still works after the drop, three drops in a row. Constraints: under 200 grams, under $15 in materials, done in three weeks.
Research. They look at how phone cases, bike helmets and shipping foam absorb impact. Two ideas stand out: crushable material and slowing the fall.
Brainstorm. They sketch five ideas: a foam block, a straw cage, a parachute, a balloon cushion and a suspended “floating” mount inside a box.
Choose and plan. They score the top three, 1 to 5 on each criterion:
| Idea | Protects the board | Survives 3 drops | Weight | Cost | Total |
|---|---|---|---|---|---|
| Suspended mount in a box | 5 | 4 | 3 | 4 | 16 |
| Straw cage | 4 | 2 | 5 | 5 | 16 |
| Parachute | 3 | 4 | 4 | 3 | 14 |
Two ideas tie, so they use the most important criterion as the tiebreaker. The straw cage crushes on impact and might not survive three drops, so they go with the suspended mount. Then they plan the build: cut the box, design the mount, buy elastic cord, first drop test by the end of week one.
Build, test, improve. The first version survives one drop, but the cord stretches and the board hits the box wall on the second. They switch to shorter cords and add foam to the walls. Version two passes all three drops at 180 grams.
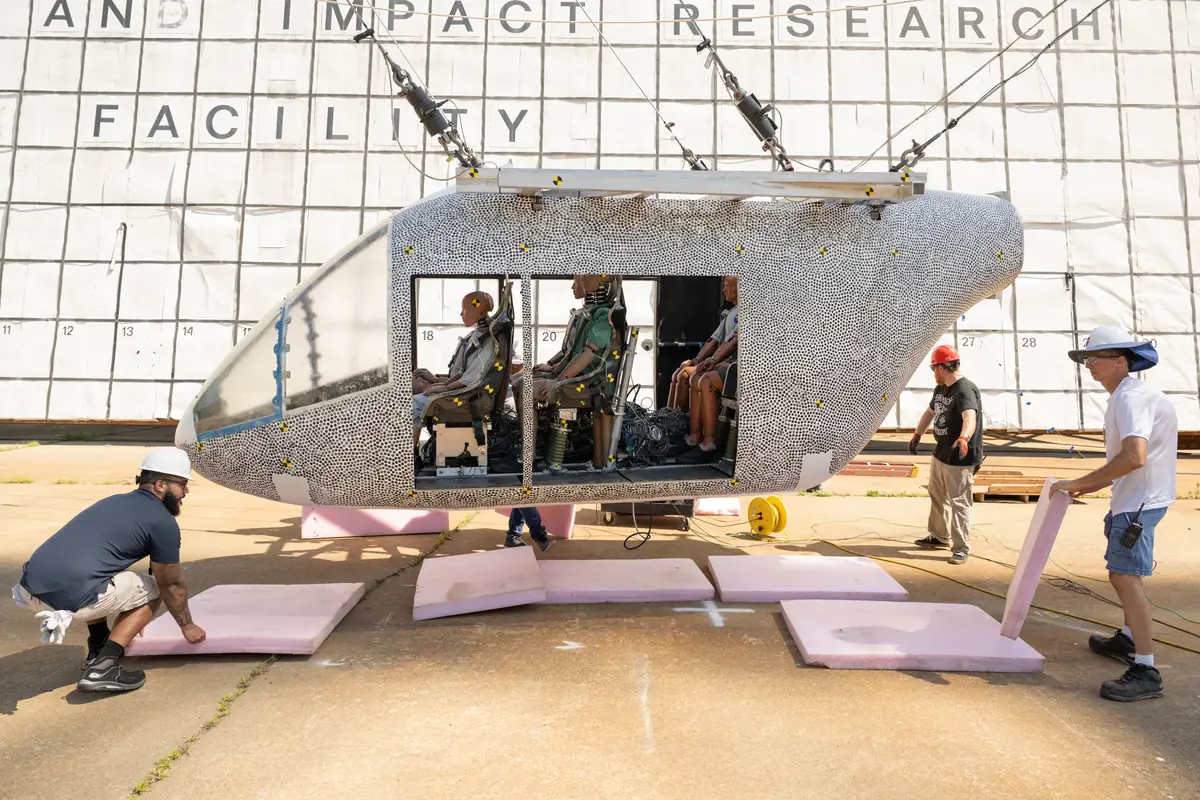
Share. Their presentation shows the decision matrix, photos of both versions, and the test log. The failed first version becomes the most convincing part of the story.
Common mistakes
- Skipping straight to building. It feels productive. It usually means rebuilding later, once you discover what the design actually needed to do.
- Vague criteria. “Strong” and “lightweight” can’t be tested. “Holds 5 kg” and “under 200 g” can.
- Falling for the first idea. If you only brainstorm one solution, your decision matrix has nothing to compare.
- Testing once. One good result might be luck. Repeat each test and change one variable at a time.
- Not writing things down. Test results that live in someone’s head disappear when that person misses a meeting. A shared log keeps the whole team honest.
- Treating the loop as failure. A prototype that breaks has done its job. It told you what to fix while fixing was still cheap.
- Planning without dependencies. If the mount can’t be designed until the box size is final, write that down. Otherwise two people end up waiting on each other without realizing it.
Doing it in Flowboard
Here’s how we’d run the engineering design process in Flowboard. Each of the eight steps becomes a step on one canvas, with an owner and a due date, and the build-test-improve loop gets its own sub-board so every version stays on record.
- Visual project planning: lay out all eight steps so the whole team sees where the project stands.
- Gates: hold “Build a prototype” until the design is chosen, so nobody starts cutting parts too early.
- Sub-boards: give each prototype version its own board with its build steps and test results.
- Project documents: attach your criteria list, sketches, decision matrix and test data to the steps they belong to.
See how engineers use Flowboard, or start a 7-day free trial and set up your next project in a few minutes.
Frequently asked questions
What are the steps of the engineering design process?
The engineering design process usually has six to eight steps: define the problem, research, brainstorm, choose and plan, build a prototype, test, improve, and share results. Some versions combine steps, like NASA’s six steps of ask, imagine, plan, create, experiment and improve. The order matters more than the exact names.
Why is the engineering design process iterative?
The engineering design process is iterative because the first version of a design almost never meets every criterion. Testing shows what fails, the team improves it, and then tests again. Repeating that loop is how a rough prototype becomes a reliable product, and catching problems early is much cheaper than fixing them after the final build.
What is the difference between criteria and constraints?
Criteria are what a design must achieve to succeed, like holding 5 kg or surviving three drops. Constraints are the limits you have to work within, like a $15 budget, a 200-gram weight cap or a three-week deadline. Good criteria and constraints are specific and measurable, so you can test against them.
How is the engineering design process different from the scientific method?
The scientific method answers a question about how the world works, while the engineering design process solves a problem by building something. Scientists test a hypothesis; engineers test a design against criteria. Both rely on careful testing and written records, and many science fair and student engineering projects use a bit of each.
How long does the engineering design process take?
The engineering design process can take an afternoon or several years, depending on the problem. A classroom challenge might fit in one class period, a science fair project in a few months, and a NASA HUNCH or senior design project in a full school year. Always plan extra time for the test-and-improve loop.